We've had a few birthdays recently in the extended family. Oh and Mother's Day :-) Here's my latest card-making attempts:
Got Treats stamp set, Melon Mambo, Whisper White and Basic Black cardstock, Cupcakes wheel, Versamark and Melon Mambo ink, Rhinestone Brads, Dazzling Diamonds glitter and gingham ribbon I picked up at my local scrapbook store (which is now unfortunately closed)
Occasional greetings stamp set, Dinosaurs die set by Cuttlebug, Bold Brights assorted cardstock (retired), Crystal effects.

Dragon stamp by Snag 'Em Stamps, Crazy for Cupcakes stamp set (for greeting), stars embossing folder, Dazzling Diamonds glitter, Bold Brights markers and cardstock, Staz On ink.


I know black, red and white is a bit unusual for a mother's day card, but I really like the way these turned out.
Basic Black, Whisper White and Real Red cardstock, Real Red and Garden Green markers, Real Red and Basic Black ink, sponges, Square Lattice embossing Folder, Pocket Silhouettes and Occasional Greetings stamp sets, Riding Hood Red taffeta ribbon (retired)
 And here's an action shot :-)
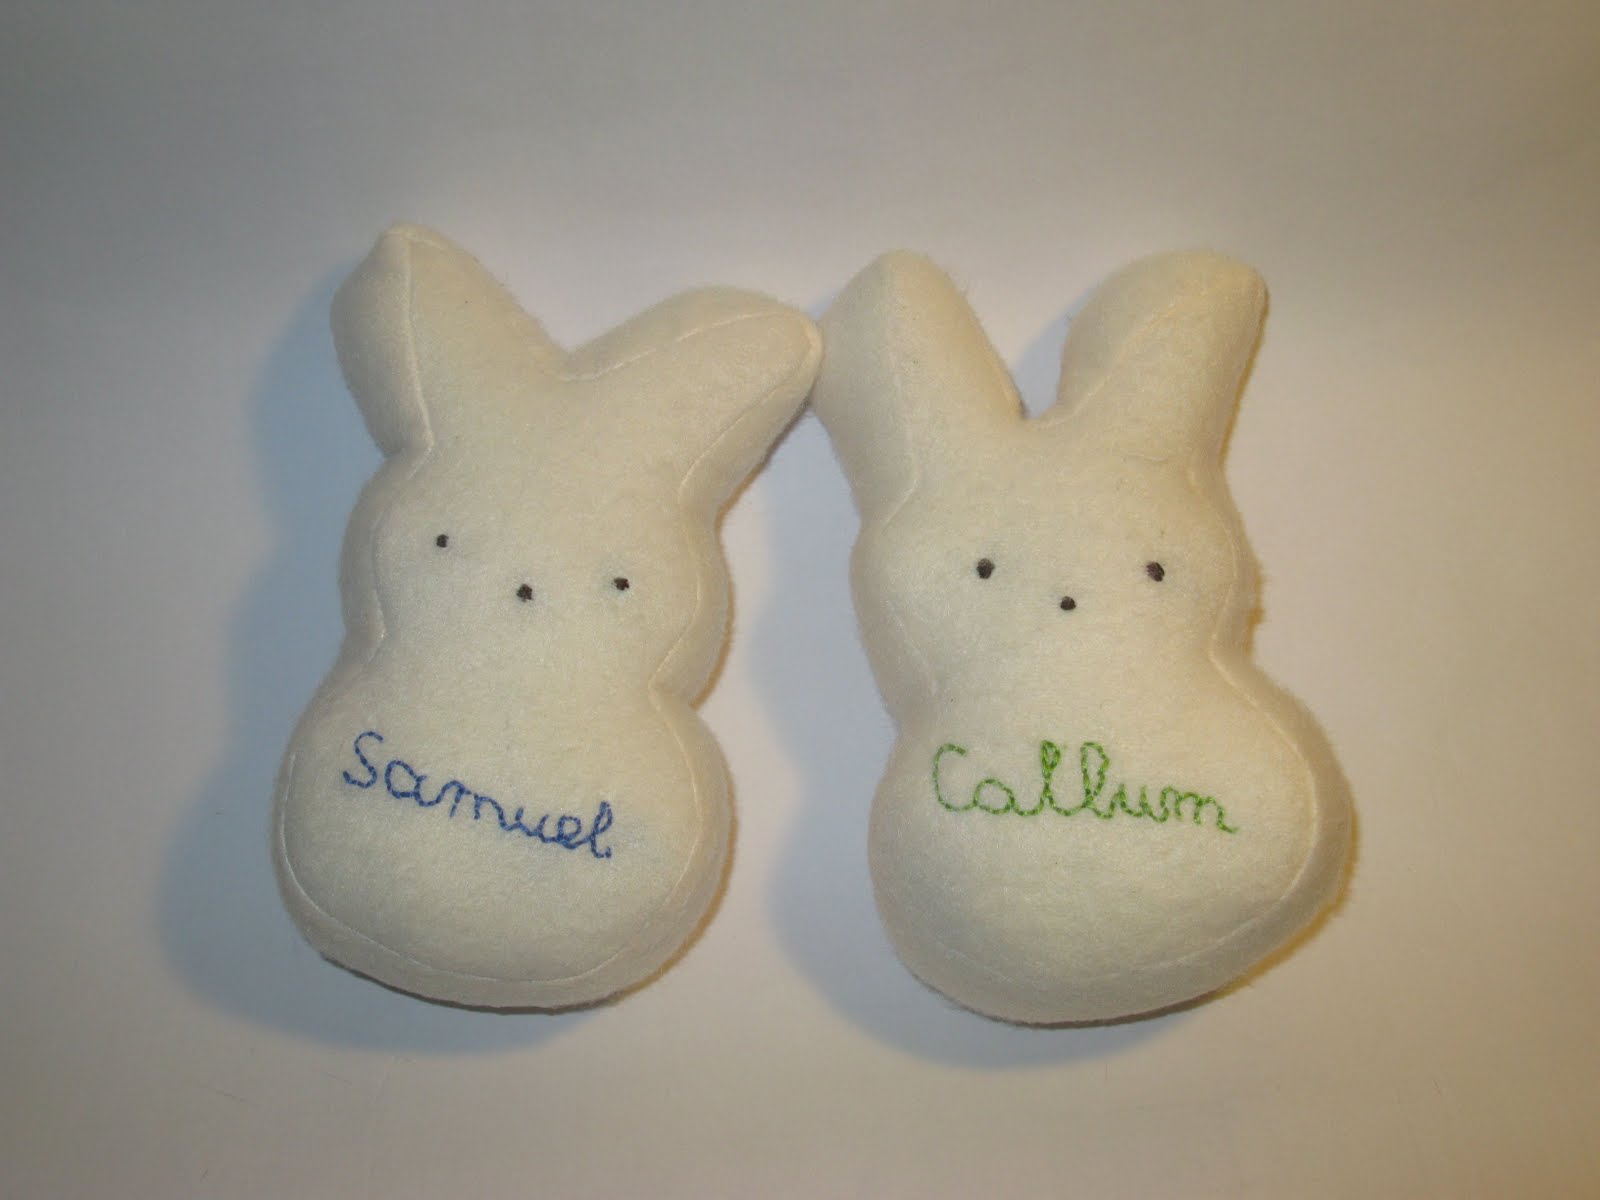 I ended up using a cream fleece remnant I thrifted from my mum's stash. I learned a couple of things... firstly to draw a line when doing embroidery so that the words are straight... and pinning is essential to keep everything straight. I was rushing to get these done before Easter and so I left out the pinning. But they turned out quite good (albeit a little twisty) and the boys love them, which is the most important thing!
 I love how these turned out - and how they look just that little bit dressier without having to try and figure out how to do a zip fly!

 Dragon stamp by Snag 'Em Stamps, Crazy for Cupcakes stamp set (for greeting), stars embossing folder, Dazzling Diamonds glitter, Bold Brights markers and cardstock, Staz On ink.
 I know black, red and white is a bit unusual for a mother's day card, but I really like the way these turned out.
 L made this gorgeous shirred headband and sewed on some felt flowers that I cut out using my Big Shot die cutting machine. The shirring technique is so easy and there are plenty of tutorials around to show you how. I'm glad I was able to share this skill with others and help them to enjoy sewing.