Thursday, July 7, 2011

The Buttercup Bag and Gathered Clutch Purse

My cousin recently celebrated her 30th birthday, and after finding out from her husband that she would appreciate "something handmade, natural, green or crafty" I decided to try a couple of tutorials that I'd been wanting to try for a LONG time :-) I found some beautiful Moda Cotton Blossoms fabric in a Oz Material Girls online sale (unfortunately it appears Moda doesn't make this fabric any more) and some contrasting fabric in (of all places) Big W!

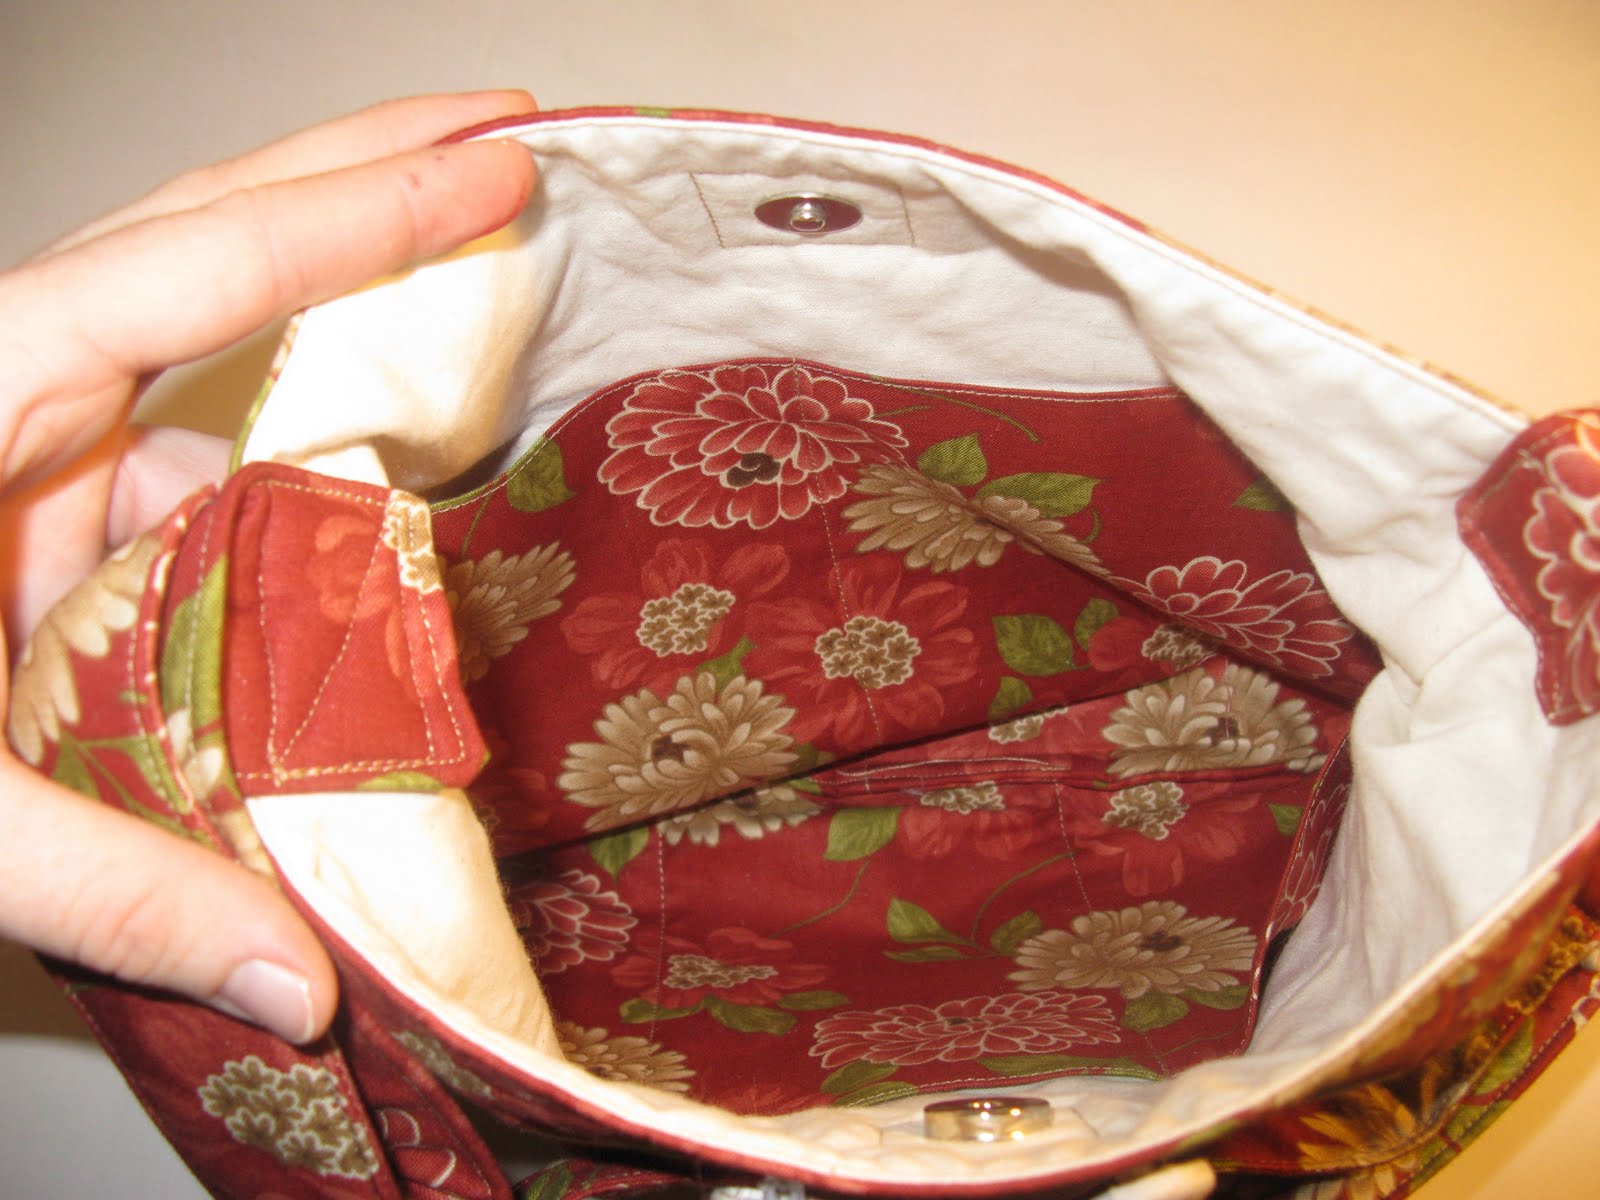
The first tutorial I used was the Buttercup Bag pattern from Made By Rae. I enlarged the pattern using the instructions in this post and I left off the button tab - I just sewed the buttons on to the outer layer. I also added some extra pockets on the inside. I also made the strap adjustable.


The second tutorial I used was the Gathered Clutch tutorial from Noodlehead. I must admit, I did find the zipper tabs in this tutorial a little tricky to do (my zipper foot and I don't get along very well) but I managed it in the end. I also added an extra pocket on the inside again (you can never have too many pockets in a handbag - well, that's what I think anyway)


These were quite quick and simple (well, except for the zip tabs) to make - I managed to make these over a couple of days while the kids were either eating or sleeping. I'll have to make some for myself now!


Tuesday, July 5, 2011

Make it Perfect Afterglow shirt


Sorry its been so long since posts! I've been so busy crafting (and with life in general) that I haven't had time to blog!

Anyway, one of my nieces recently celebrated her 5th birthday. I had been eyeing off the Afterglow pattern from Make It Perfect for a while and luckily The Oz Material Girls had it on sale! I found some material from my stash (I'm pretty sure my mum had used the same material to make one of my sister's a dress when she was only about 3 or 4 :-D), and voila!


The pleated detail is a bit hard to see in this photo (sorry, it was taken in the afternoon of the night before the birthday...). I shortened the pattern to shirt length, and added a pleated frill on the bottom. Below is the picture from the front of the Afterglow pattern so you can see the pleating around the neckline a bit better - I think mine turned out ok :-)


Hope the birthday girl liked it!