Showing posts with label tutorial. Show all posts

Saturday, August 6, 2011

Initial Wall Art Tutorial


I made some wall art for some of my nephews recently, and decided to share how I did it :-)

You will need:

12" x 12" framed canvas (I picked up mine from Big W for about $5)
Sheet of Scrapbook paper
Mod Podge
Acrylic Paint - I used black and white
Assorted paint application tools - I used a roller, a paintbrush and a foam brush for the Mod Podge
Craft wood Letter (I found mine a Lincraft during a sale, they have them at Bunnings too)


Step 1 - Paint the top and edges canvas - I painted mine black as I was using dark colour scrapbook paper. If using a light colour you could just leave it white or paint it a matching colour. Here are my assistants painting the canvas ;-) Tip - Using a roller gives you much more even coverage.


Step 2 - Paint your letter. I used white to paint my letter. Again you can choose whatever colour you like. I had to give mine a couple of coats to get it looking nice.


Leave both the canvas and the letter dry for a couple of hours.

Step 3
Attach your scrapbook paper to your canvas with Mod Podge.

Allow the first coat to dry. Try to remove as many bubbles as you can!

Step 4

Cover the canvas and paper with a coat of Mod Podge. Don't forget the sides!

Allow time to dry.

Step 5

Use the Mod Podge to glue your letter into the centre of the canvas


Again, allow time to dry.

Step 6

Finish with another coat (or two) of Mod Podge all over, allowing drying time between coats.


And there you have it! A nice, simple decoration for a boy's room :-)

Wednesday, January 5, 2011

How sometimes two wrongs (or three or four...) can turn out right

I recently hit the Boxing Day Sales where I picked up some plain polo shirts and a plain t-shirt from Rivers for $3.90 each. I decided that I wanted to embellish the plain t-shirt a bit, but still be able to tumble dry the shirt (due to all the rain we've been having). So I decided on reverse applique. And that's where things started to go a little pear-shaped... :-) Here's what I did.

Here's the original shirt. I love the blue, but it was just a little plain. My first problem was that the shirt didn't lie flat - it has a slight twist. I don't know if that makes it drape nicer, but it made the whole process a lot more challenging.


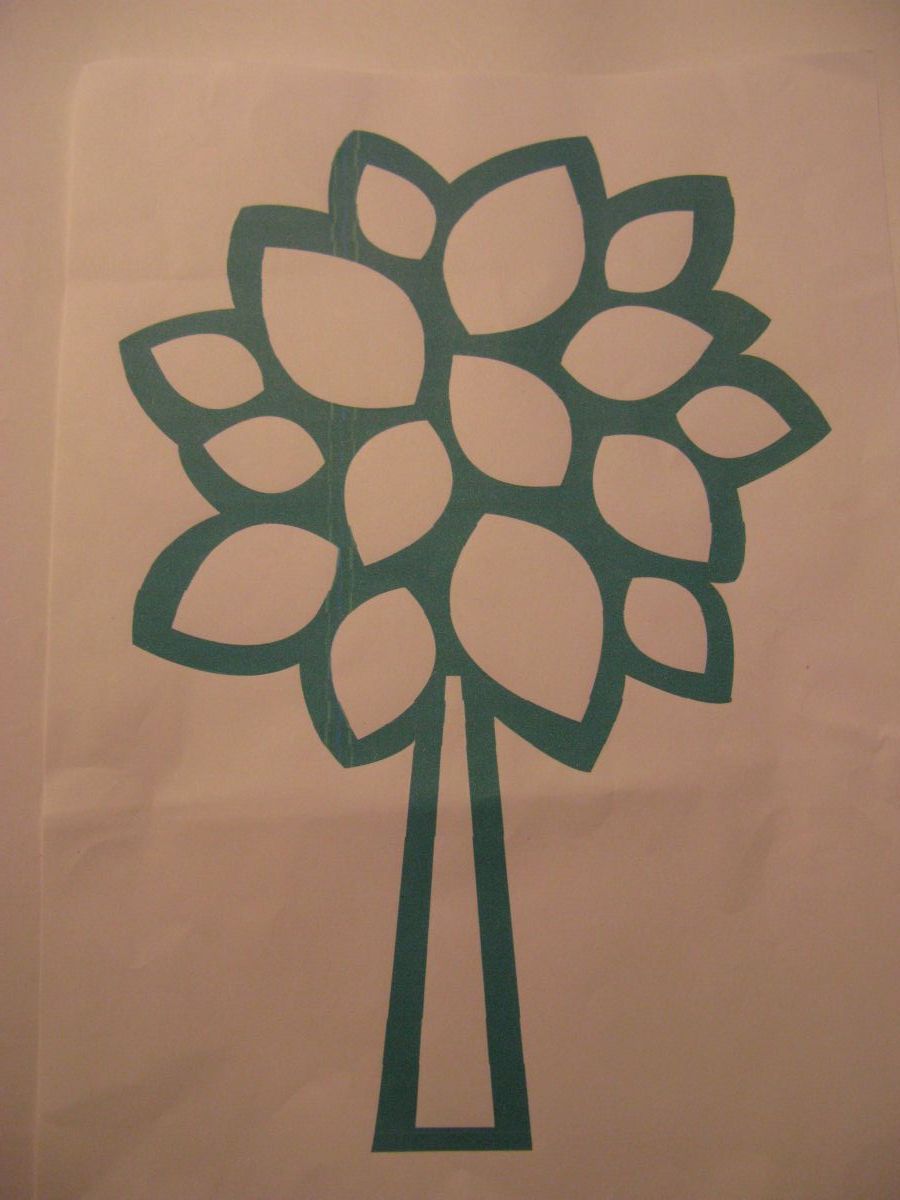
I found this tree design from LollyChops and thought that it would look great on a t-shirt.


Then I decided to try and use the freezer paper stencilling technique... Unfortunately I don't have any freezer paper, so I thought greaseproof paper would work as it is shiny on one side. So I traced the design and cut it out.


Then I tried to iron on the greaseproof paper. And found that its not the same as the American freezer paper. It just wouldn't stick. So I ended up having to trace around the stencil with a fabric marker.


Then I tried on the shirt and found that I had placed the design crooked and the trunk of the tree was pointing diagonally to my right hip. So I decided to just forget about sewing the trunk!

Next I pinned a remnant of white knit fabric to the inside of my shirt. Make sure that the knit fabric covers your front design.

Then I started sewing. I used a stretch stitch and my applique foot on my sewing machine.


This next photo is sideways but you get the general idea...


Then I trimmed the knit material to close to the sewing. Knit fabric won't fray, so you can leave it unhemmed, but it would probably look better with overlocked or zigzagged edges.


Carefully trim the top layer of fabric only around the design.


Ta-da! I'm really happy with how this turned out :-) Especially after all the stumbles along the way :-)